Showing posts with label hair. Show all posts

Saturday, May 20

The Perfect Temporary Grey Roots Fix with The Root Fix

Hi lovelies, 

It's been a while! I'm totally sorry but as usual life.. and mega wedmin... has been getting the best of me. All the same, I wanted to jump onto the blog as I was sent a really cool hair product that has solved a real dilemma I was having about my wedding hair in December. 

To walk down the Aisle with grey hairs or not to walk down the aisle with grey hairs? Ah such a dilemma!

In the last few years I've been seeing more and more of these pesky little white hair sprouting up, and in truth, I've sort of grown to love them. Yet, I also would like my hair to look #flawless on my wedding day, and the greys do seem to stand out like mad in photos in particular. I intend to be in ALOT of photos on my wedding day. haha

I dabbled with the idea of getting them dyed professionally but I didn't like the OOT-ness of it all.. I've got maybe 10 max and it seemed a bit too much effort. A home dye kit? possibly, even henna? a natural alternative but still, so permanent. 


So, when YoungHair asked to send me The Root Fix I jumped at the chance to try their temporary root cover. 

They have three colours to choose from: black, light brown and dark brown... naturally I chose the latter.  I applied the temporary colour just like you would do dry hair shampoo and it leaves a similar texture as dry hair shampoo too. 

I have to say that I didn't really know quite what to expect. But once I'd sprayed the few white whisps of hair I did have I couldn't believe how simple and easy it was to temporarily cover the greys. The dark brown Root Fix colour matched my hair colour seamlessly. 

What I also liked about it was that I was in control of how much coverage I wanted. A few sprays made them less noticeable but still present. And I liked that. My greys are a part of me, a part of who I am right now and, as much as I want to look and feel great on my wedding day, I also want to look and feel like me. 


For me The Root Fix by YoungHair is the perfect non-permanent grey cover-up that allows me to take control of how I want to look on my Wedding day without changing who I really am... greys and all! 


I'll most definitely be using it too... you can buy The Root Fix on Amazon in Light Brown, Dark Brown or Black. 


Love 
LauraClaire

Thursday, September 29

72 Hair Product Review

Hi Chickies,

Well, my life has been insanely epic of late... In the space of about 2 months I started a new job which I absolutely love, I turned the fantastic age of 28, I went on an incredible trip to Bali and the Gili Islands and... I got ENGAGED!!


Wedding planning has well and truly begun and, as a beauty & fashion blogger, that means hair, make-up and dress planning heaven :)

With all this in mind the lovely goodies that the fab lot at 72 Hair sent me recently have been going down a treat (BTW I'm obsessed with their blow dry cream).

New Brand on the Block: 72 Hair


72 Hair are a cool new brand creating premium hair care products for salon across the UK. I was lucky enough to be sent some cheeky samples of their products before they'd even got their packaging sorted and fell in love then. So I'm super excited now to see and test the final products.

Keeping your hair in good condition is so important pre-wedding day but if your like me finding time to go to the salon for a treatment can be painful so I like to make sure my hair-care products are salon standard. I think with hair care you really can tell the difference.

I was sent three products; the 72 hair Intense Moisture Shampoo, the Hydrating Conditioner and the Blow Dry Cream which all retail on their website at £14.99 with free delivery.

Sustainability, science and totally nourished locks


So, if you read my blog often then you know what's coming next, yep it's my packaging obsession! I just think that packaging is so so important and I love the cool slick product styling that 72 Hair have gone with. The soft muted tones of their brand are gorgeous and I love their tag line 'For the Love of Hair'. What I also particularly love is that their a brand that goes more than skin deep. Their bottles and packaging are recyclable, they use certified ingredients and encourage 'green' tech. 

As you'd expect from their names these products are all about nourishing your hair. All three products contain Hydrolysed Keratin which 'revitalizes the hair and helps rebuild strength. Increases hair elasticity and reduces breakage' as well as Hydrolysed Collagen which 'creates a protective shield against irritation and exposure to chemical treatments; adds body, manageability and increased tensile strength'. 

I was particularly impressed with the deliciously creamy texture of the Hydrating Conditioner. So often conditioners are watered down and they feel watered down. However, 72 Hair's conditioner felt luxuriously creamy and hydrating. 

After toweling dry my hair after my last few washes using 72 Hair products I've been applying their Blow Dry Cream before drying. I always use some form of heat protector before drying or heat styling my hair so I've tried out a fair few now. Unlike some I've tried it isn't horridly sticky, something I hate with a passion. However, neither is it too watered down so that you feel like you have to towel dry your hair all over again after applying it. It's the perfect consistency that is quick and easy to scrunch into my locks and away we go!


Blow Dry Cream, Nourishing Shampoo & Hydrating Conditioner


My Thoughts on 72 Hair... 

For me, hair care should be all about moisture and nourishment and 72 Hair have smashed it where that is considered. Having long and thick hair my only query would be how long the products will last as I'm used to buying larger bottles and 250ml won't always get me that far.  Yet their trio of hair care products has left my hair super shiny and I've loved the luxurious smell and texture that comes with using professional salon brands. Certainly a brand I'd use again, check out their full range.
Now I just need to sneak a budget line for 72 hair products into the Wedding spend!

Love 
LauraClaire

Thursday, April 4

Schwarzkopf Live Color XXXL Ultra Brights Hair Dye Review

THE KIT
BEFORE

DURING
AFTER

Hi Chickies!

So, if you're a follower of my blog you'll know that a little while ago I was a red head using Garnier Fiery Red 6.60 Hair dye

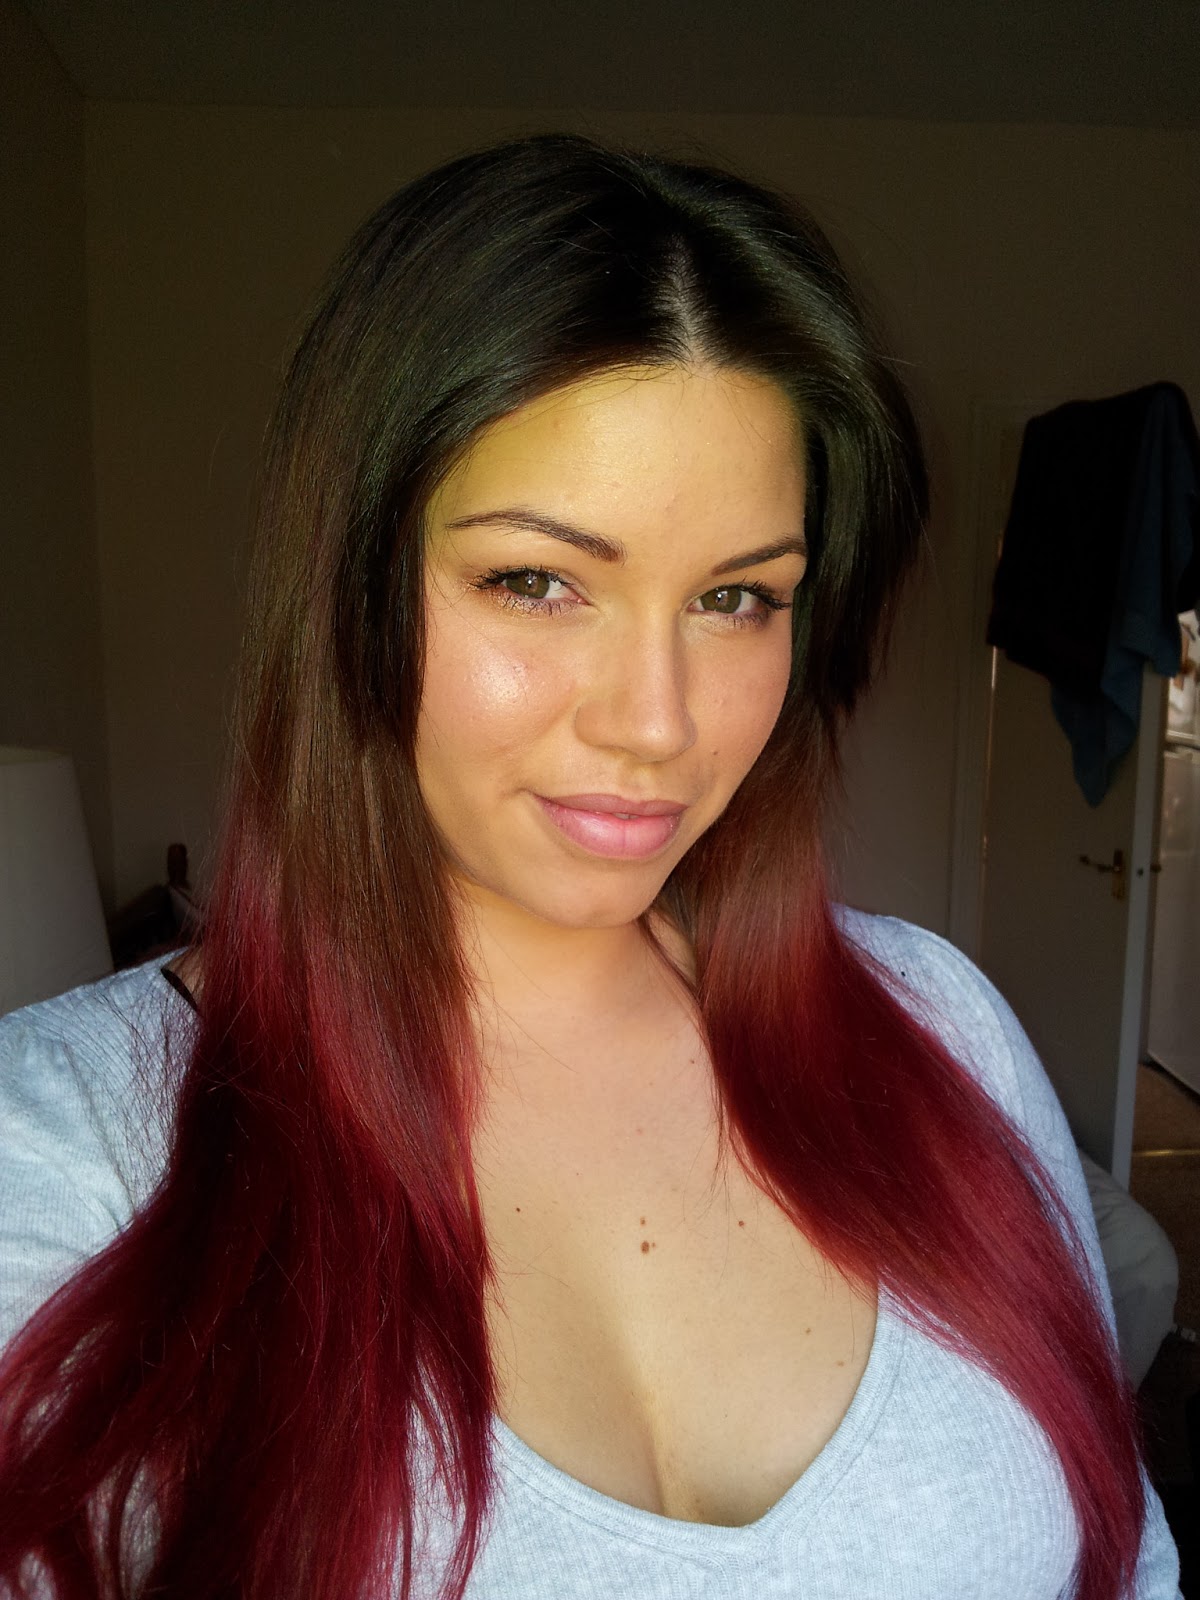
Since then I decided to let my hair grow and the dye to wash out. Luckily Ombre hair is in fashion and, as the dye lightened my locks, I was lucky to be on trend as it grew out!

However, I fancied a bit of a change and noticed that Schwarzkopf have recently bought out the new Live Color XXXL Ultra Brights Hair Dye range. I picked up the kit for a very reasonable £4. I chose it because it is semi permanent - washing out after around 8 washes. This will keep my locks in good condition and be less chemically harsh.

Because it was semi-permanent I was keen to see how it would take to my hair and if it really would be as bright as Schwarzkopf claimed. How wrong I was to doubt them!! Beautifully bright and healthy hair in under an hour!

The colour I chose was Rasberry Rebel 91. The colour at the tips was a fairly light mousey brown colour initially so came out more of a pinky-red than a bright pink but I love it! The colour would definitely be brighter on lighter hair.

The Kit is easy and quick to use. Because I was dip dying I tied my hair in a pony tale before applying the dye to get an even application just at the tips. This seemed to work perfectly <3 

Schwarzkopf have created a brilliant Semi-permanent hair dye which is a rare thing to find in the high street chain drug stores - two thumbs up and shiny hair all round!

Have you tried out any of the other Schwarzkopf Live Color XXXL Ultra Brights Hair Dye colours? Pillar Box Red and Fiery Copper

Love

LauraClaire


Sunday, March 3

KMS California Sea Salt Spray Review


Heya Chickies,

This is my latest LOVE product. I asked for the KMS Sea Salt Spray for Christmas from my lovely boyf and was lucky enough to get it. yay!

So I've spent the last couple of months testing in out and I really do love it. It's a light weight spritz spray that pretty much does what it says on the tin. I personally love a sea salt spray as I am always in search of the perfect 'beach curl' (I have poker straight locks so, of course... I love curly hair! never happy hehe)

The spray works best on dry hair. I always brush my hair after drying it and found that when spritzing on the spray before brushing caused tangling. I usually use it just after I've curled my locks to give them a less perfected look.. a bit more untamed!

Love

LauraClaire

Friday, November 9

L'oreal Elvive Damage Care Serum Review


Hi Girlies, Happy Friday!!

I’ve always had long hair (apart from an awful period at University when I decided to cut it all off and literally shave one side of it – very bad look for me!) so I’ve always tried to keep it looking in good condition and shiny. Since dying it red I’ve of course noticed that it’s vital I keep it extra nourished to avoid that awful straw like look and feel.  After running out of an old serum in capsule form that I’d had for years I went in search of a new serum to match it.

There were too many to mention in Boots so I stuck to a brand I know well: L'oreals Elvive Damage Care Serum. I really notice the benefits of a serum and will always massage it into the tips of my hair after a shower and before blow drying. I’ve consistently used serum for over two years now and feel it is the reason why I get complemented about the lack of split ends I have.

I’ve been using L’oreals serum for over a month and I feel it is doing just as good a job as any other serum and would recommend it. The bottle is fairly small, made of glass and clear. I like the fact that it’s clear as you can easily tell how much you are using, sad I know but I like to be prepared and fully restocked for when I run out! The pump action of the bottle isn’t the best and I often have to pump 5 or 6 times before any serum comes out each time I go to use it. However, I would say this is the only down side. It has a subtle sweet fragrance which isn't too overpowering and does leave your hair smelling lovely. 

I'm not too sure I buy into the 'Ceramide-Cement Technology' but whatever L'oreal's oily serum is doing to my hair I have to say I like it :) 


Love 

LC 

Friday, August 3

Schwarzkopf got2b Guardian Angel Review


A few weeks ago the lovely people at Schwarzkof sent me an array of goodies which I wanted to review for you. As there are quite a few as you can see and I’m a busy bee of late (sorry for the lack of posts L) so I’m just going to review the Got2B Heat protection spray today.


I’d previously been using a brand of hair protector spray that I can't even remember now!! that I’d seen in Tesco and thought I’d try out. It's one of those celeb hairdresser brands. I was excited about it as I’d not heard of it before but was a bit let down. It was fine and smelt quite nice but nothing to shout about.

However, after trying the Got2B Guardian Angel protection spray and using it for over a week now I haven’t even touched the old one. My favourite bit about all Got2B products are their smell. They always smell tasty! Bubblegum smells and fruity smells, I love it. Always nice to pop out of the shower and spritz something tasty smelling into your hair right
J

I like the shape of the bottle too and it’s easier to handle than my other spray. It’s not something I noticed initially but when comparing the two it really stood out. The heat protection goes up to 220 degrees which is the exact heat that I straighten and curl my hair. Maximum heat to perfectly ruin your hair I know so it’s great I’ve got such a strong heat protector.

It’s early days yet but the spray doesn’t appear to be sticking to the ceramic irons of my straighteners which is the best part. My straighteners still run smoothly through my hair and the spray is light weight and creates a fine mist of protection.

As I have long hair I tend to take good care of it; using conditioner on the tips along with heat protection sprays and split end oils so I haven’t noticed a drastic change in my hair quality. However, I do feel that if I stopped using heat protection sprays my hair would notice it and I would highly recommend this one for extra shiny and gorgeous smelling locks.

Love LC

Saturday, July 14

Garnier Fiery Red 6.60 Hair Dye: Before and After


Hiya Sweetpeas,

I've been getting a lot of people interested in finding out a bit more about the Garnier Fiery Red 6.60 Hair Dye I use. I posted back in May about dying my naturally dark brown hair bright pillar box red again but in particular you want to know the before and after results.

Original Garnier Fiery Red 6.60 Hair Dye Post 


Above is the before and after results. It's a pretty good before and after as before dying my hair red I had NEVER dyed my hair before... insane I know as now I'm addicted hehe.

So the colour brown you see there is my natural colour. I occasionally used a product called 'Sun In' which you can buy in Superdrug which, when sprayed on a heated with a hair dryer, lightens your hair a little in the places sprayed. I did this to get a bit more depth and highlights into my hair but not very often.

The red colour you see is from my first aplication of Garnier Fiery Red 6.60 Hair Dye. As you can see the colour is brilliant and bright and has slightly lightened by hair because of the peroxide in it.

The red is very bright in the sun but more toned down inside or under natural light which is also good for work. However, like any red colour it does wash out and fade quickly, this bright red won't stay for too long and I wouldn't recommend re-dying very soon due to hair damage.

What I did find was that as the dye faded my hair changed to different colour reds and people would re-compliment me asking if I have redyed my hair. So the fading out process isn't all too bad.

I have thick, fine hair down to the middle of my back and it currently takes only one hair dye kit to dye the whole of my hair. Though if you do have longer hair I would recommend buying two kits as I have to be very precise and stringent with application.

Too any girlies thinking of going red... do it! it's brilliant fun and yep, brunettes can do it too... I'm the living proof hehehe xxxx

Love LC

Thursday, July 5

Easy PigTail Plaits with a Twist


Morning lovelies <3

As part of my 'beautiful hair in 4 easy steps' collection I've created another look for you. This hair style is very 'Heidi' I think but cute for summer festivals - especially WET summer festivals (sigh!). It's a style my mum used to do for me when I was a tot. I had such long thick hair that I think the plaits were the only safe way to know I wouldn't come home with a hair full of leaves and knots.

So, this is how I did it!
Step 1. Plait your hair loosely in two pigtails.
Step 2. Fold each plait around the back of your head, pinning with grips as you go.
Step 3. Pin down hair ends flat at the top of your head and style parting and fringe as desired.
Step 4. Spray with strong hold hair spray and add in pretty flowers, glittery clips for a Boho feel. 


It took me less than five minutes to do and the great thing about this style is it doesn't need to look perfect- strands of hair out of place all the better :)

Love LC

Thursday, June 14

Simple Plaited up-do in 4 easy steps


Hiya girlies :) 
 
A little while ago I started the first in my series of easy to do hairstyles that only take 4 steps and can be done in a total rush just before work... what I tend to do with my hair every day! When my hair isn't freshly clean and perhaps has had too much bit of Batiste dry shampoo I like to do this hair style. It's great as it looks a lot more thought out than it really is. Hope you like it..


Step 1. Pull you hair to the side and plait tightly to one side. 
Step 2. Taking pins pull the plait upwards and pin around the top of your head. 
Step 3. Pull out any fringe you have on either side.
Step 4. Fix with strong hair spray and smile :)

Love LC

Thursday, May 31

Calling all Hair Monsters...

Hi Girlies, It's finally Friday! Hurrah! 

A little while ago I made a YouTube video about my how I style my hair and my love of  got2b products from Schwarzkopf. It was my first ever video actually, so a bit awkward I think lol. Anyways, their glued hair spray is so fab and gives a really strong hold. I also use their Powderful power which really volumizes. 


So I was suprised when the lovely people at Schwarzkopf saw my video and contacted me recommending I do my own clip for their 'How do you tame your hair monster?' competition at

The main prize is to become a guest presenter for TheMuseTV. On top of that there are other neat giveaways every 10 days including TopShop, iTunes and Jack Wills voucher and lots of great Got2b products! With prizes like that I couldn't not :) If you like Got2B products and want to win some good prizes enter too.


Oh and also... Please vote for me!

Love LC 

oops I mean Frizzilla <3 hehehe

Friday, May 18

Simple pull back hair style in 4 easy steps


In the mornings, once I've washed and dried my hair I've usually only a few minutes to work out what to do with it! I'm told I'm lucky because my hair is naturally very straight but I LOVE curly hair and find my hair dull.  So I thought it would be a fun idea to share a bit of hairspiration and give a few easy styles that I do with my hair in the morning.

This is the first in the series. If you've got some hairspiration I'd love to find out about it, leave a comment below of what you do and I'll add it to the list :)

1. Brush hair and style in a side parting.
2. Back comb at roots to add volume and spray with hairspray to fix.
3. Section off a small amount of hair at each temple and pull back over the rest of the hair.
4. Twist and fasten each side with kirby grips.

A quick style in four easy steps.


Love LC

Friday, May 11

Red hair and Pretty Plaits


So, What do you think of the red hair?? The photos don't really show how red it is, in sun light it shines much redder for some reason.. I love it! Last year Plaits were such a big thing and I remember spending hours carefully constructing the perfect plait in my hair just before nights out. With my new and ever so glossy (yay) red hair I thought I'd hark back to the beloved plait with a simple style. This look only took 10 minutes to do. I parted my hair in a side parting and loosely plaited both sides of my long fringe, pinning them back and straightening the rest of my hair for a slick smooth look. 

It was a style that was easy enough to do quickly as I was heading out for dinner and was pretty and girly.... Perfect! And that's why we girls love plaits. 


Love LC

Garnier Fiery Red 6.60 Hair Dye Review for Dark Brown Hair


Garnier Kit includes:

Instruction
6.60 creme colour
Bottle shaker and colouring
plastic gloves
Glossy Conditioner


Dying Dark Brown Hair Bright Red

Since the Summer trend last year I've had my hair red. Last year I had it vibrantly red but since then have toned it down to a deeper darker red. It was so fun having a bright red in the Summer though as my hair pretty much glowed in the sun <3 My favourite hair dye is Garnier and the colour I use for my hair is 6.60 Fiery Red. My hair is naturally very dark brown so the colour the red dye gives me is quite a deep red but does still show up nicely.

Dying my Dark Hair Red with Garnier Fiery Red 6.60

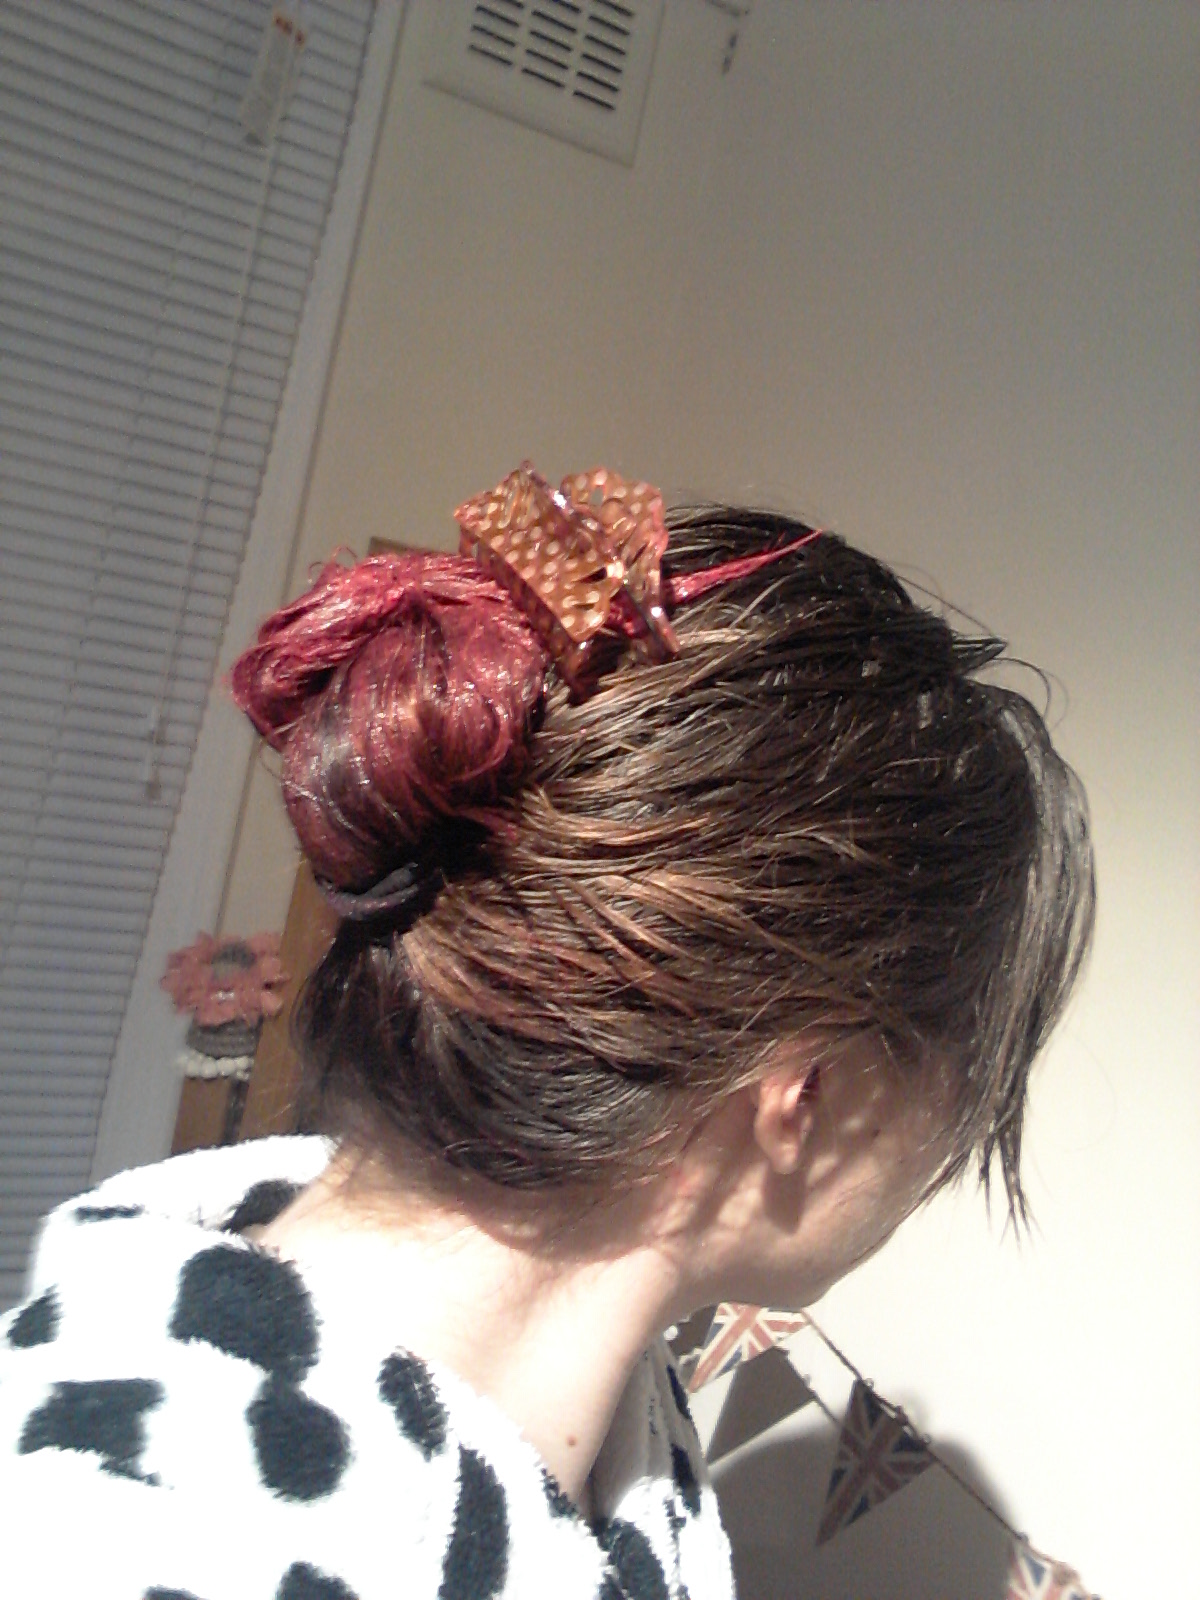
My hair is long, it's half way down my back now (eek yay!) and is thick but fine. Even with long thick hair, one Garnier pack does the whole of my hair which is great. I find applying the dye really easy. You put the creme colour into the bottle and shake it all together. you can start to see the red colour coming through. You then put on your gloves and put the creme all over your hair, starting with your scalp first. The smell isn't too awful but I would recommend opening a window just incase. After 35 minutes your done and can wash your hair as normal and apply the intense conditioner. I adore being a Red Head!


In my next blog post I'll be talking about my new colour and a hairstyle I've got back into loving again. Pop back soon to catch up! Lots of love xxx

Love LauraClaire
Related Posts Plugin for WordPress, Blogger...

Popular Posts